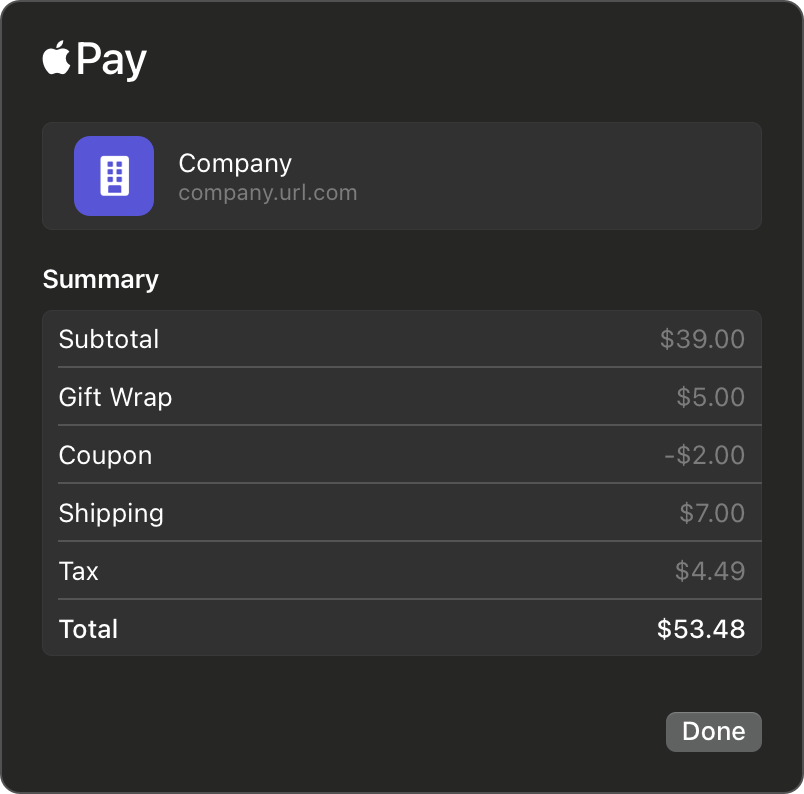
Apple Pay
This guide explains how to integrate Apple Pay directly into your system using the BR-DGE REST API without a BR-DGE SDK or Hosted Payment Page. By doing so, you maintain full control over the Apple Pay experience for your users.
For more details on Apple Pay with BR-DGE and how to enable the feature, see our Mobile Wallets -> Apple Pay documentation.
How it Works
Apple Pay offers client-side APIs that create payment objects. These objects follow a standard format and can be converted into JSON-encoded tokens. These tokens then act as payment instruments for BR-DGE payments. Please see the Payment With Apple Pay Payment Instrument request example for POST v1/payments endpoint to see what this looks like.
The payment object has a nested structure that contains a payment token with encrypted payment data, which BR- DGE is able to decrypt prior to routing the payment to processors according to your routing rules.
To run your own checks before processing an Apple Pay transaction, you can use our GET Apple Pay Token Metadata endpoint. It decrypts the Apple Pay data, giving you access to the payment information along with corresponding Bank Identifier Number (BIN) lookup metadata from your customer's Device Primary Account Number (DPAN).
Essential Setup Steps
Before you proceed, you must use your own Apple Developer Account to create a merchant identifier and a payment processing certificate. Once set up, these credentials can be used across all your iOS, watchOS apps, and web applications.
Apple Pay servers use the processing certificate’s public key to encrypt payment data. BR-DGE will use the private key to decrypt the data to process payments, which you will need to provide as part of on-boarding using your own Apple Developer Account.
Generating Apple Pay Payment objects using PassKit (for iOS/watchOS apps)
When you use PassKit APIs to support Apple Pay in your iOS and watchOS apps, your users can make Apple Pay purchases without ever leaving your app. For more information on integrating with PassKit, including Apple's requirements, please see the Apple developer documentation.

With PassKit, when your user authorizes the payment, the system calls the paymentAuthorizationController(_:didAuthorizePayment:handler:) method of the PKPaymentAuthorizationControllerDelegate protocol. The handler will provide a PKPayment object that can be transformed into a JSON-encoded token for use as the payment instrument in a BR-DGE payment.
Apple provides sample code for offering Apple Pay in your app, which typically follows these steps:
Step 1: Enable Apple Pay Capability in Xcode when building your app
After creating a merchant identifier, enable the Apple Pay capability in your Xcode project. See Enable Apple Pay capability in Xcode.
Step 2: Check Device Compatibility and displaying Apple Pay buttons
When you're showing payment options to your users, you should first use canMakePayments() to check if their device supports Apple Pay. This method returns true even if no cards are set up in their Apple Pay Wallet; users will be prompted to add a card if they select Apple Pay. Alternatively, canMakePayments(usingNetworks:) verifies if suitable cards are already present in their wallet.
Users may be unable to make payments for various reasons, such as unsupported device hardware or restrictive parental controls.
Step 3: Create a Payment Request and Start the Payment Process
When your customer clicks or taps the Apple Pay button, construct a PKPaymentRequest. This object details the transaction, including the total amount, currency, and supported payment networks, which will be displayed on the payment sheet. Then, present the payment sheet by initializing a PKPaymentAuthorizationControllerwith the payment request.
Step 4: Authorize the Payment
Once your user authorizes the payment, the system invokes the paymentAuthorizationController(_:didAuthorizePayment:handler:) method of the PKPaymentAuthorizationControllerDelegate protocol. The handler provides a PKPayment object which your app should pass to your server to be used as a payment instrument in a BR-DGE payment. After you receive the response from BR-DGE, you should call the completion handler (also provided by the handler) with the authorization result.
Generating Apple Pay Payment objects using Apple Pay on the Web (for web applications)
Apple Safari browsers support two APIs for implementing Apply Pay payment requests within web applications: Apple Pay JS API, and the W3C Payment Request API. For complete details on Apple's requirements and integration guidelines, refer to Apple developer documentation.
Both APIs present the same Apple Pay payment sheet on Safari, and offer nearly the same user experience. Apple provides a guide to help you decide which API to implement, or whether to implement both. Both APIs can generate payment objects that can be transformed into JSON-encoded tokens for use as payment instruments in BR-DGE payments.
- If you use theApple Pay JS API: The system will call the
onpaymentauthorizedhandler, which provides anApplePayPaymentobject. - If you use the W3CPayment Request API: After authorization, you'll find the payment details within the
detailsattribute of the W3CPaymentResponseobject. This attribute will contain anApplePayPaymentdictionary.
Apple provides an Apple Pay on the Web Interactive Demo which typically follows these steps (when using the Apple Pay JS API).
Step 1: Check Device Compatibility
Before displaying an Apple Pay button, ensure that the Apple Pay JS API is available and enabled on your customers device. See Apple's documentation on checking for Apple Pay availability .
Step 2: Create a Payment Request and Start an Apple Pay Session
When your customer clicks or taps the Apple Pay button, you first need to construct an ApplePaySession object, which includes the ApplePayPaymentRequest dictionary detailing the transaction details the payment sheet will display, including the total payment for the transaction, the currency, and the supported payment networks.
Step 3: Complete Merchant Validation
Before you can show the Apple Pay payment sheet to your customer in your web app, you need to establish a valid payment session with Apple Pay's servers.
For security reasons, your server needs create this session, not your browser client code. To start the merchant validation process, call the begin method on the session object you created in step 2. After calling the begin method, the browser invokes your onvalidatemerchant handler, which needs to fetch a merchant session from your server.
To implement your server endpoint for fetching the merchant session object from Apple Pay servers, consult the instructions in Requesting an Apple Pay Payment Session. Upon successful retrieval, Apple Pay servers will return a merchant session object, which your server should return to your web app. Subsequently, you can finalize your onvalidatemerchant handler in your web app by providing this object to the completeMerchantValidation method of the session object. The browser will then present the payment sheet to your customer.
Step 4: Authorize the Payment
Finally, you need to implement the onpaymentauthorized handler which is responsible for processing the transaction. After your user authenticates the transaction using Face ID, Touch ID, or their device passcode, the system calls this handler with an ApplePayPayment object that can be transformed into a JSON-encoded token for use as the payment instrument in a BR-DGE payment. After you receive the response from BR-DGE, call the completePayment method on the session and indicate either STATUS_SUCCESS or STATUS_FAILURE with an array of associated ApplePayError objects.
Updated 5 months ago